
With a few simple steps it is possible to import lists, profiles and segments from Klaviyo to the {{NAME}} platform.
For this integration to work correctly, it is necessary to take into account the following previous considerations:
In order to integrate Klaviyo with {{NAME}} it is necessary to generate a private API Key in Klaviyo.
https://www.klaviyo.com/
To do this, go to your Klaviyo account settings (Settings option):
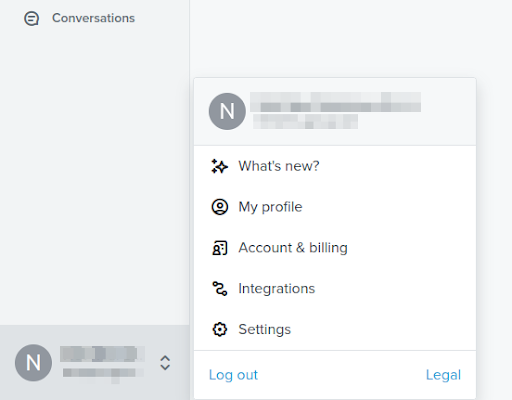
Illustration 1 - Account settings
Once there, we access the API Keys section and click on the "Create Private API Key" button.
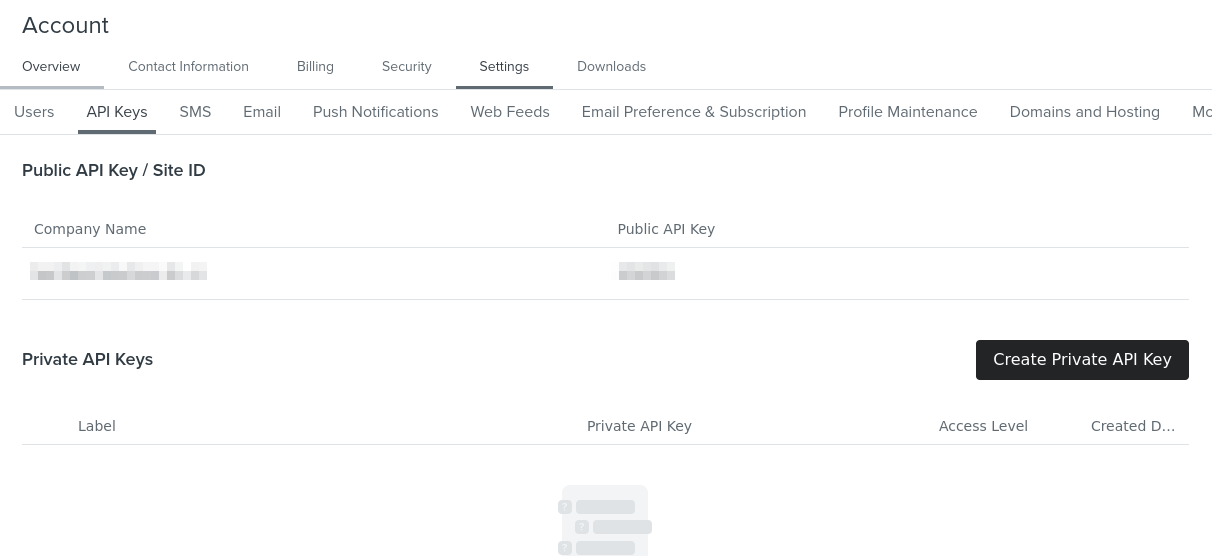
Illustration 2 - Create API key
We will create a Custom Key with read access to Lists, Profiles and Segments.
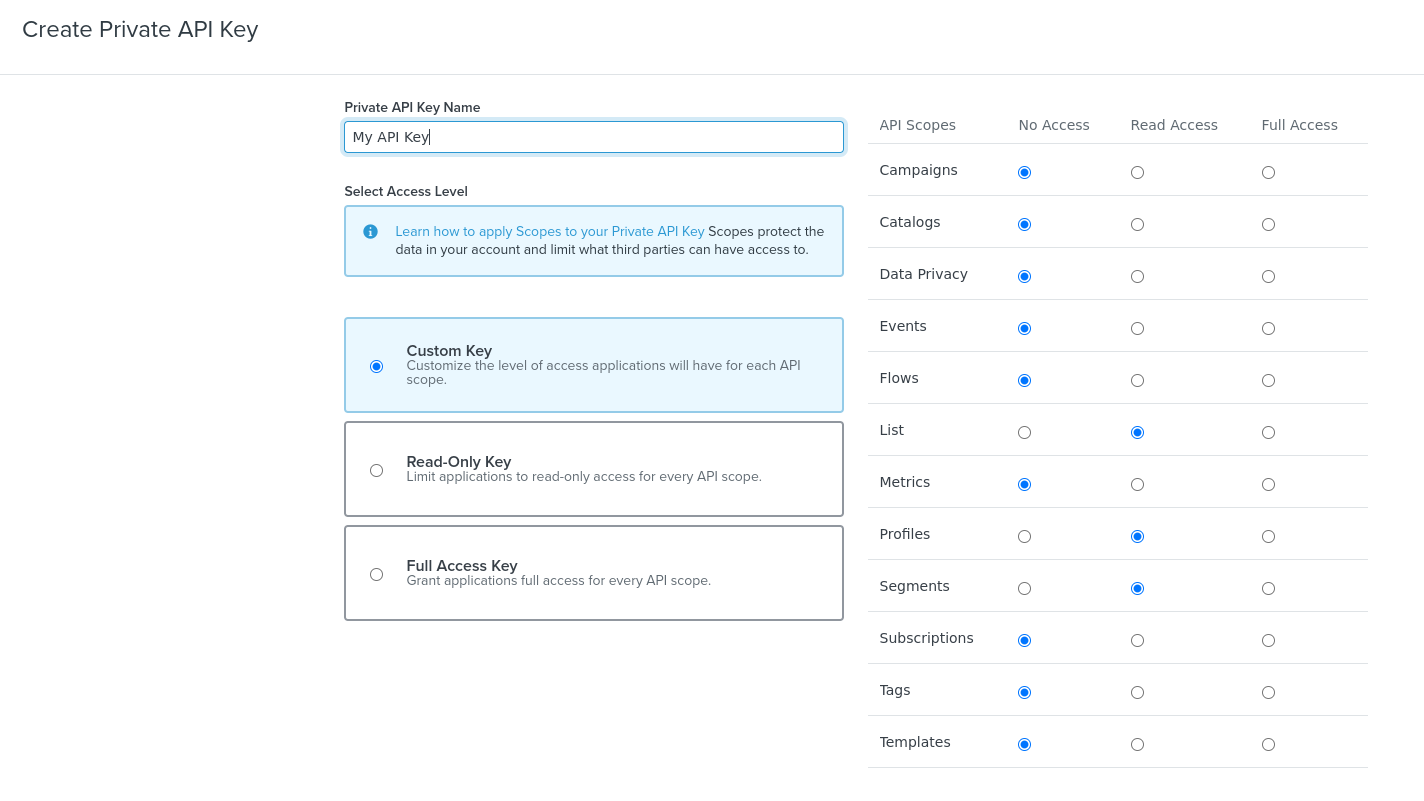
Illustration 3 - Custom key
When we confirm the creation, Klaviyo will show the created API Key.
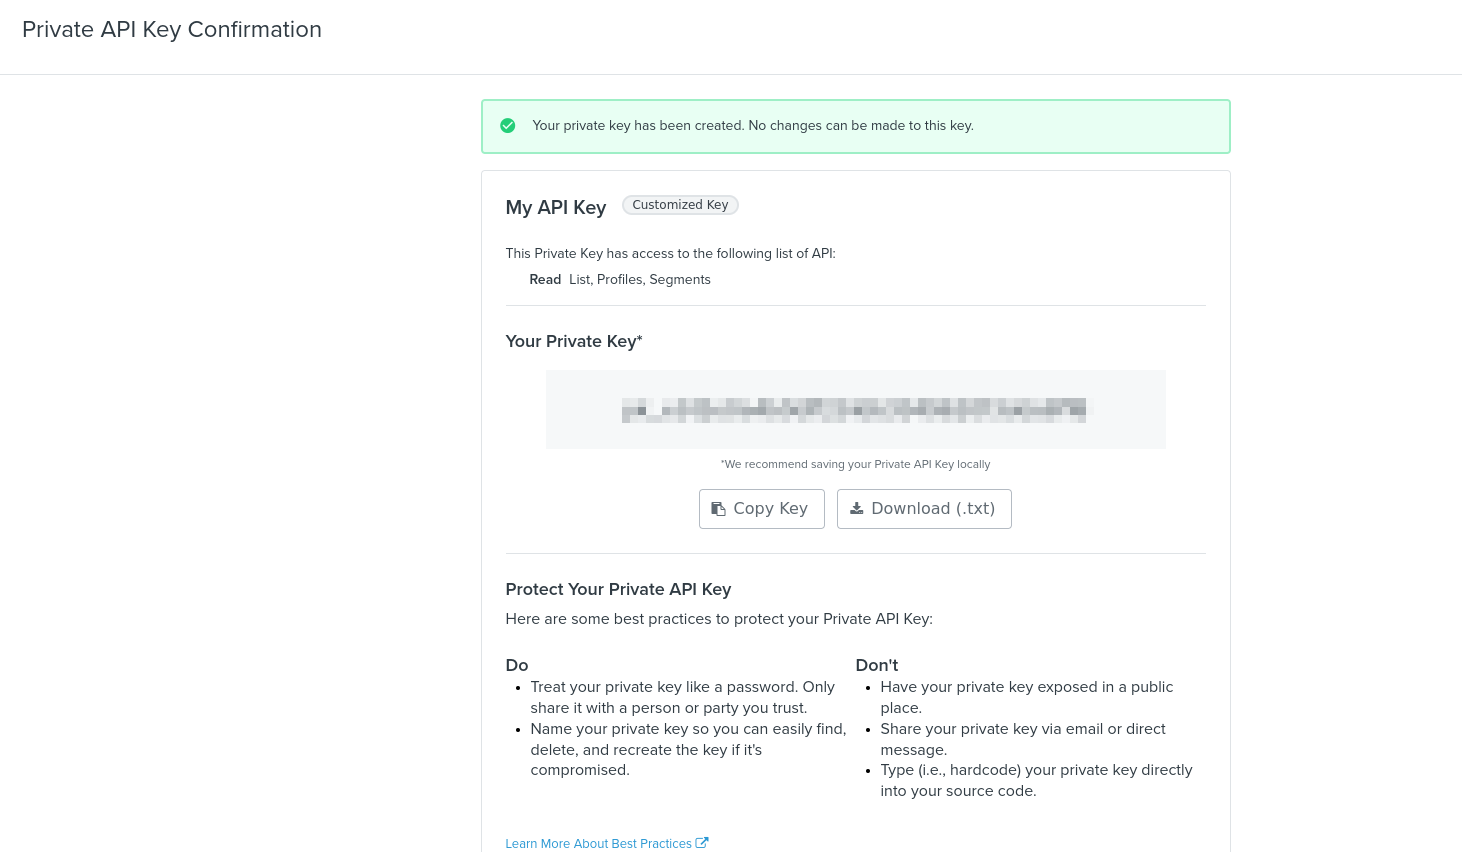
Illustration 4 - "Private key"
Now we can also see it in the list of private keys.
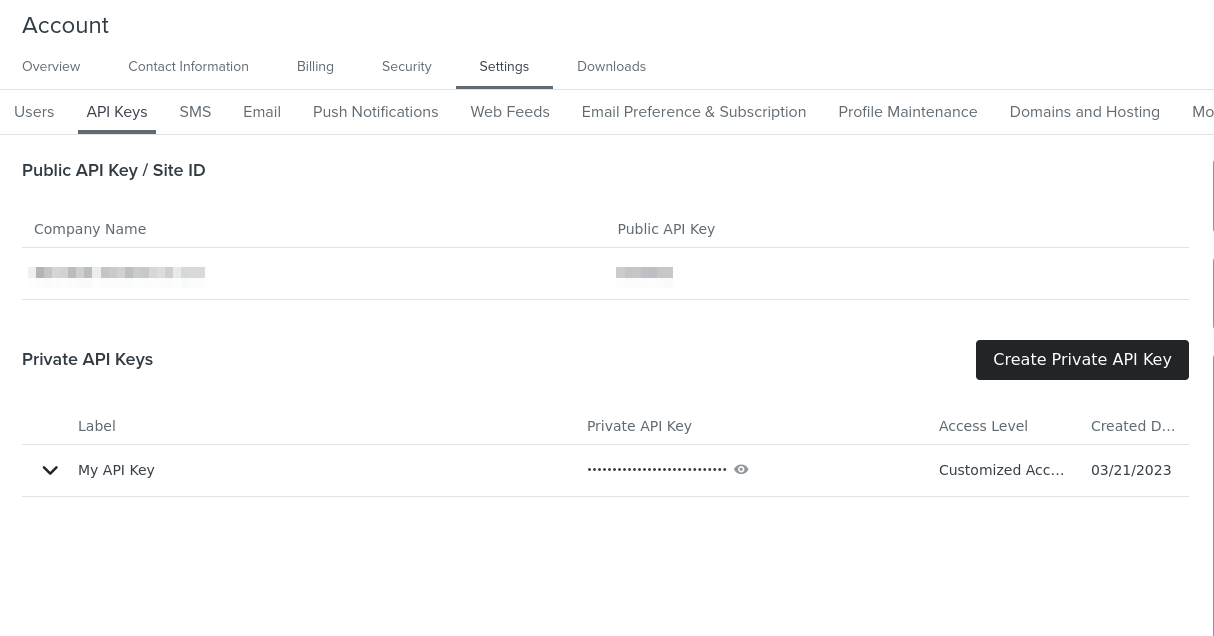
Illustration 5 - Private keys
When we go to activate the integration in the platform, this is the API Key that we will need to connect {{NAME}} with Klaviyo.
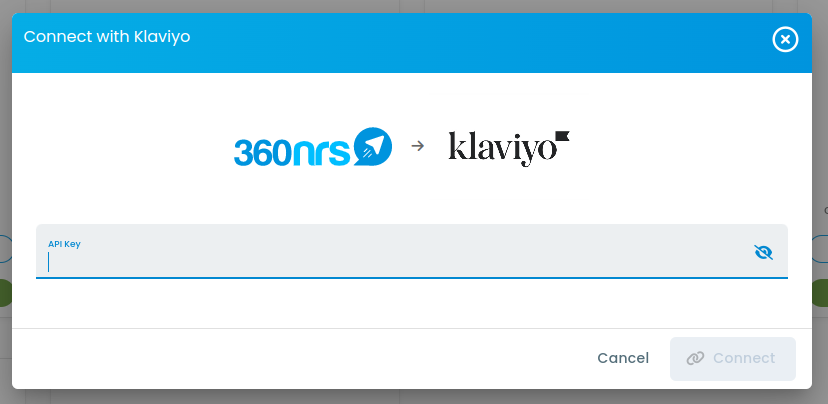
Illustration 6 - Connect {{NAME}} with Klaviyo
Once the {{NAME}} platform is linked with Klaviyo, we can see in the menu Tools > Databases two new options titled Import from Klaviyo and Synchronize from Klaviyo.
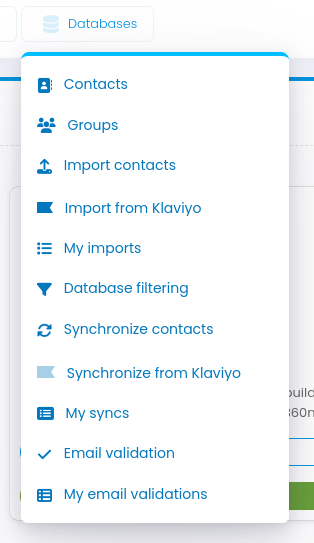
Illustration 7 - Import from Klaviyo / Synchronize from Klaviyo
The process of importing our contacts from Klaviyo to the {{NAME}} platform is carried out in 5 steps.
Select the list or segment that we want to import or synchronize.
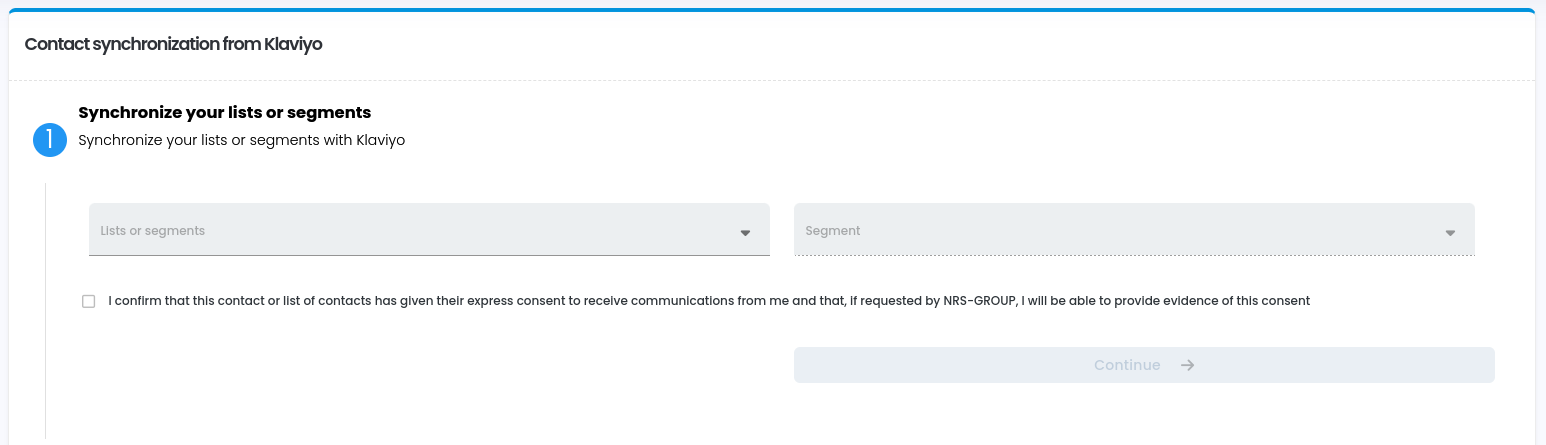
Illustration 8 - Import from Klaviyo - Step 1.
In addition, in the case of contact synchronization from Klaviyo, we will have to select the time interval between each synchronization.
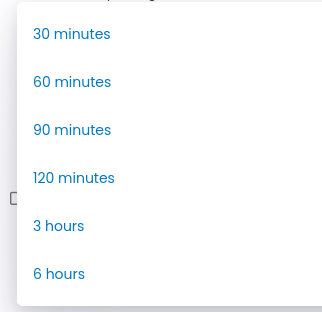
Illustration 9 - Selection of the synchronization frequency - Step 1.
To continue, confirm that the contacts have given their consent to receive communications from us.
Define the basic details necessary in order to import the database, the email of the contact or his phone and the country for these phones.
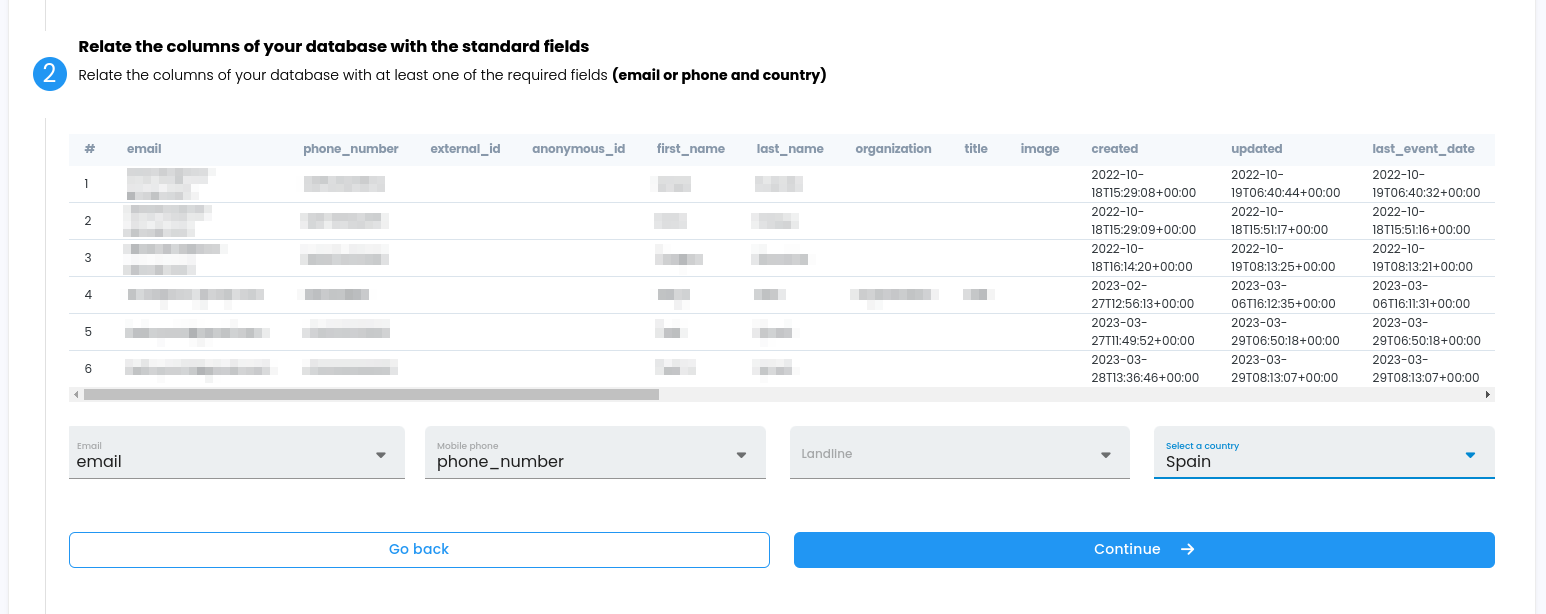
Illustration 10 - Import from Klaviyo - Step 2.
In this case we have selected both the email column and a column for the contact's mobile phone. We select the country to which these mobile phones belong.
We select or create all the custom fields that we want to import from this database.
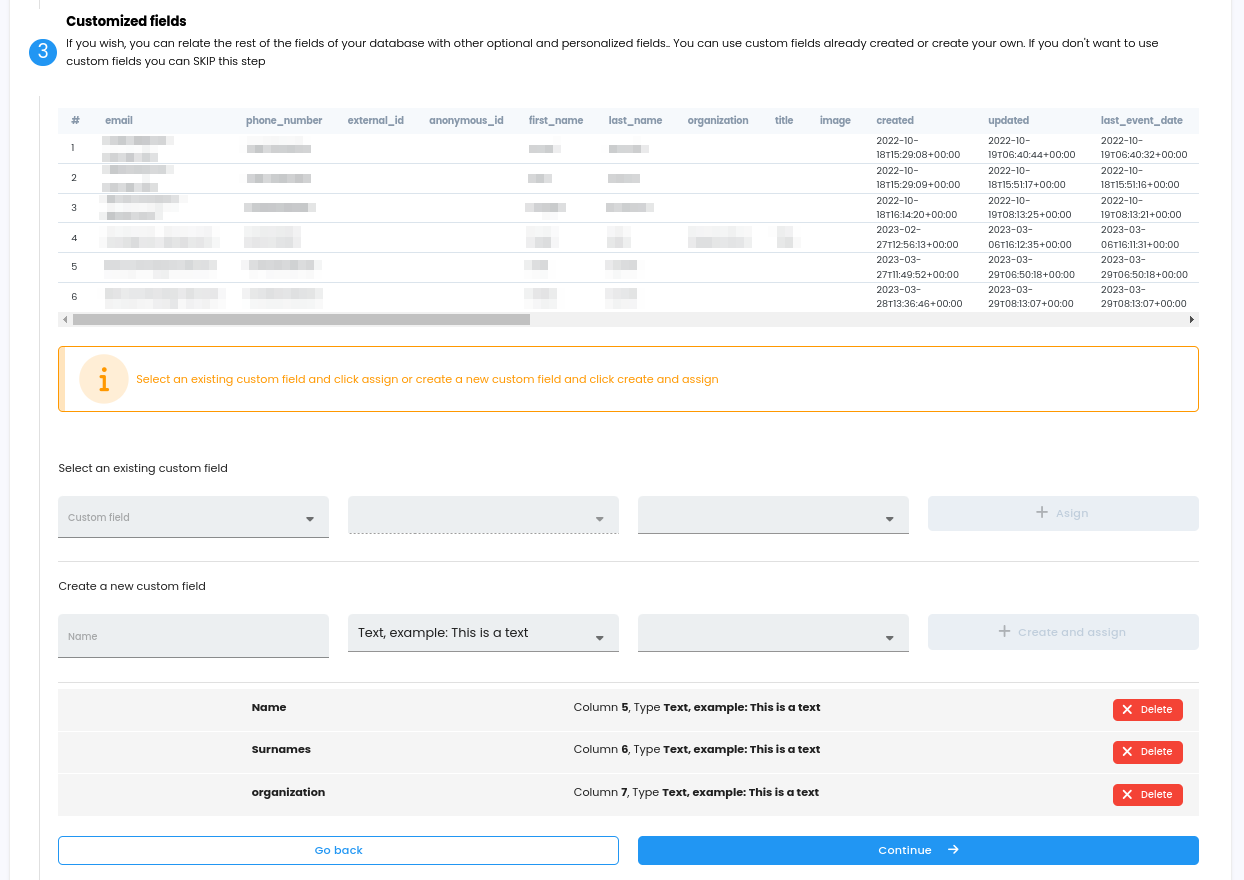
Illustration 11 - Import from Klaviyo - Step 3.
We assign the contacts that we are going to import to a group. This group can be already existing, in which case we will select the group from the selector, or we can create a new group for these contacts.
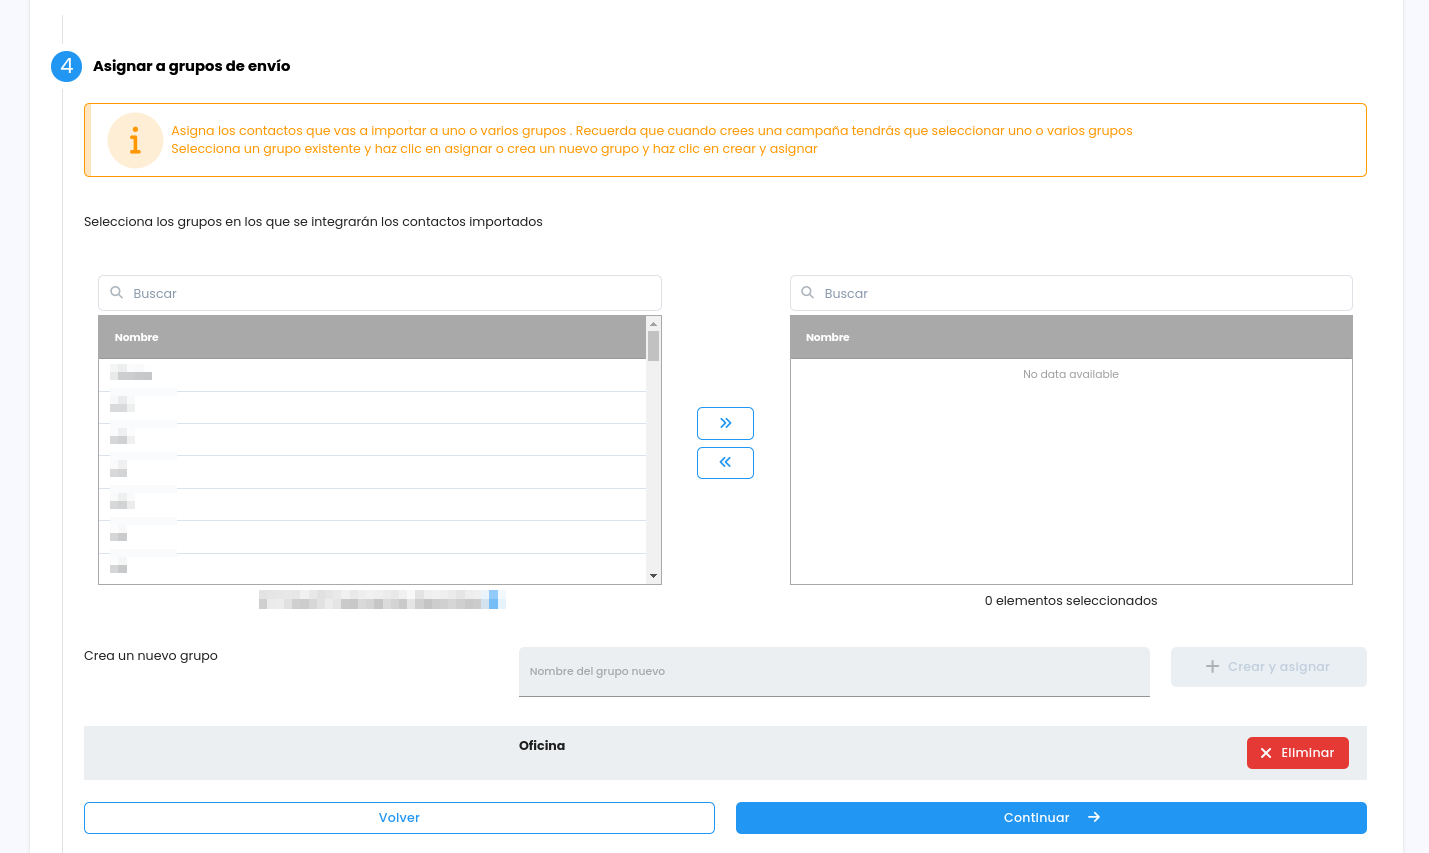
Illustration 12 - Import from Klaviyo - Step 4.
Select how the platform should behave in case some of the contacts have already been previously imported into the platform in one of the previous imports.
The possible options are the following:
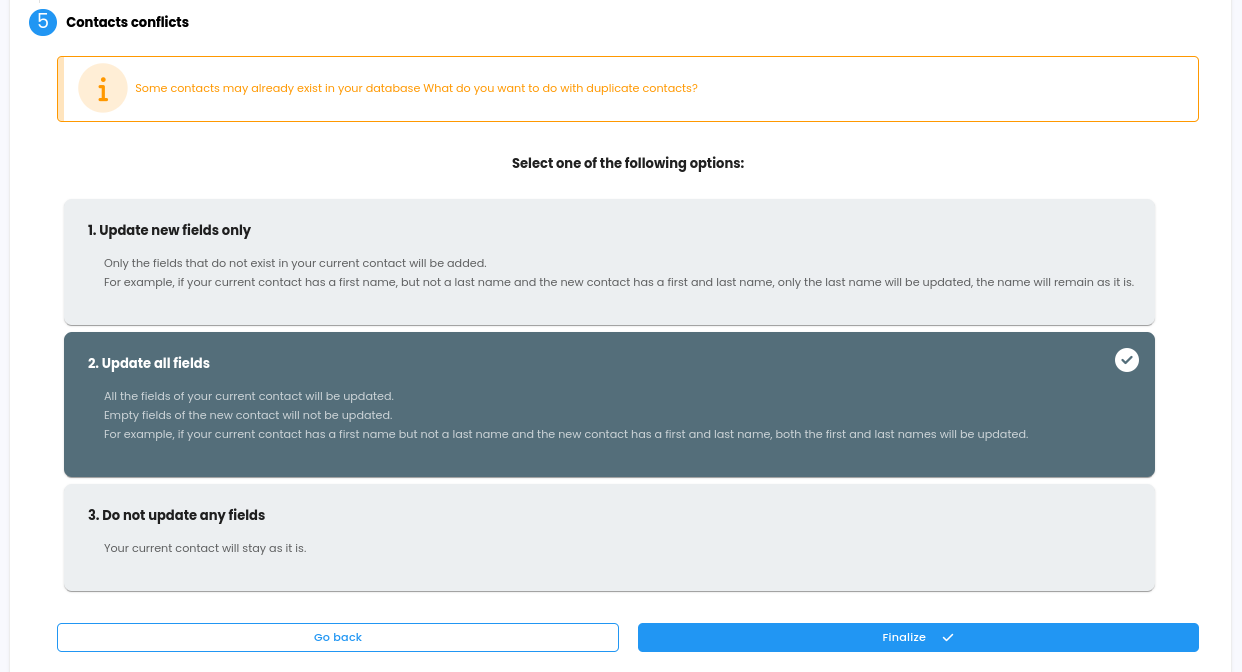
Illustration 13 - Import from Klaviyo - Step 5.
Once the option we prefer in the case of duplicate contacts has been selected, click on the Finish button and the import process begins.
This import process may take some time, depending on the number of contacts that we are importing. Once this import process is finished, the platform will inform us of the result of it with an email.
 Salesforce
 HubSpot
 Zapier
 Salesmanago
 360nrs APIs

